Search This Blog

7.5.12

Up cycle old t-shirts into baby bibs

      A day after the Greek elections and it feels like nothing has changed ( probably hasn't ). However, I keep on preparing stuff for my little expected ones. I have to admit I saw the idea somewhere else and that mine are not that good
 http://restitchyarn.com/free-patterns/babester-dos/

But who cares;-)

So I started with a couple of old t-shirts


    Cut them into a long stripe of approximately 0,5cm width 


   And then I knit them...


   I made a couple of polymer clay miniature buttons :


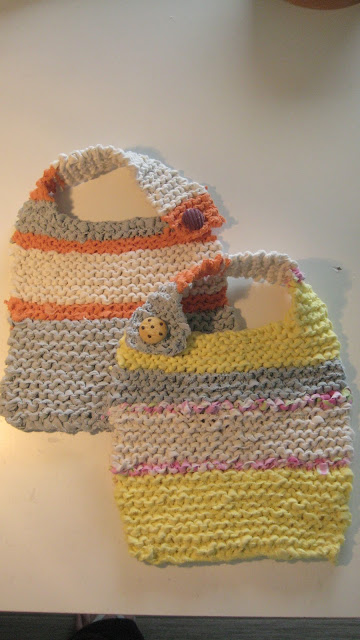
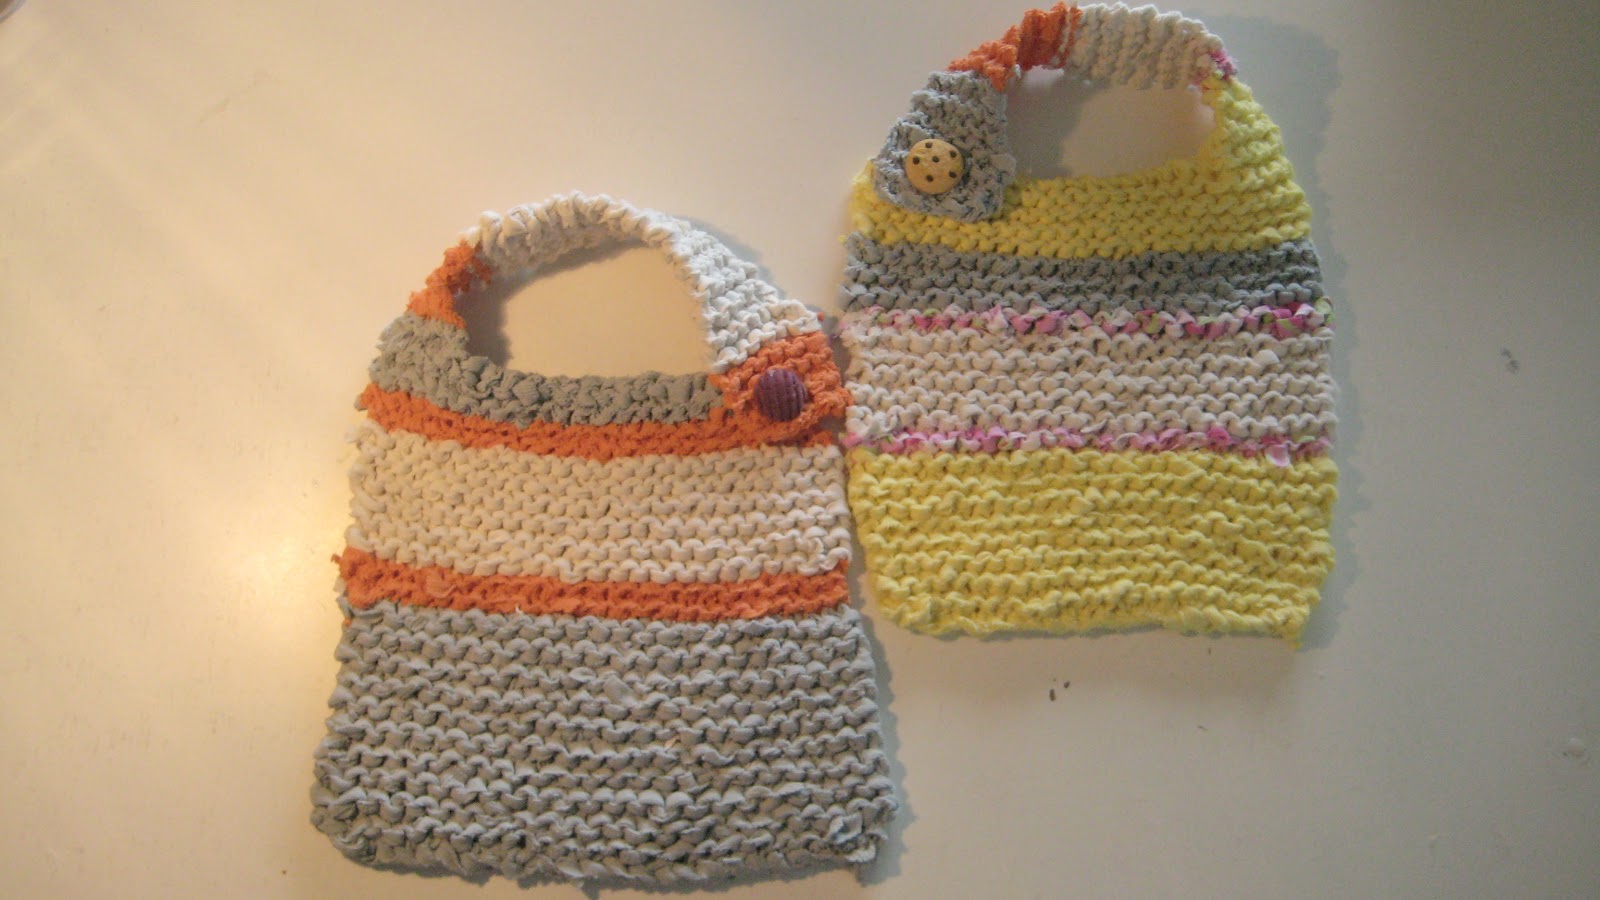
   And here is the result:


29.4.12

Old clothes into new baby stuff... stuffed animal tutorial

    I have been waiting for the maternal instinct to overwhelm me, but nothing happened (;-)) so far, so I tried to do something about it, create something for my expected little ones! Since I have gathered a lot of clothes I don't wear anymore, I decided to use them :


   So I started by making this pattern using a pencil, 2 A4 paper sheets glued together and a pair of scissors. A pattern for the body, the ears and tail :


   Drawing the pattern on the trousers...:


    Cut the double fabric and then sewed it together:


   Same with the ears, I used the fabric of the inner pockets of the trousers:


    And the result after stuffing them with glass wool parts and sewing... :


   I also stuffed the body with glass wool and then sewed the ears on it:


    ...and the result:


    I had a hard time sewing this totally by hand, so I asked my mom to give me her old singer sewing machine to experiment a bit. 


And here are the stuff I made:


From this..


to this


this..

into this..
 

   And also:

old trousers

..into another stuffed elephant!
    Since I had the machine I thought of doing some more things except stuffed animals.. So I experimented with some old advertising towels a t-shirt and my trousers (again...) :


   And made these bibs!


    Cute?

23.4.12

My bottle chandelier

            Hi there, I'm back again. Our new house is almost ready now, one of the last things I needed was a lamp for the living room. And now I have it!


      The idea was to make one out of green wine/oil/vinegar/water bottles.


      I had a hard time cutting off the bottoms of the bottles. I followed this tutorial I found :
http://www.youtube.com/watch?v=sFXngPx3w3M but it was still difficult to achieve because I didn't actually have the right tool, only a cheap one, so I improvised using a clamp:


      Sand paper was used to smoothen the not so perfect edges :


     The reason I delayed this project for so long is that I couldn't find the red cable I wanted for the lamp. I looked in every shop and on line too but the search was unfruitful. I came to the conclusion that there must be a red cable conspiracy theory but after googling this nothing came up ;-) So I took an extension cable we had at home:


      Cut it in 5 pieces, 2 meters each and painted it with a permanent red marker (Oh, yes!). I actually needed one and a half markers... :


      My husband helped me with the power connections (thank you darling!) and here is the one out of five result:


       And....lights!


        ...another prospective: