Search This Blog

25.5.12

The mini ice cream sticks summer bracelet

  It's already hot enough and one of my favorite snacks this time of the year and of course mostly this year are mini ice creams on a stick :


    After eating a whole box of these, I collected the mini sticks and cleaned them:


    So, I thought to make a summer bracelet out of them. In order to connect them to each other I made 6 little holes on each using a thick needle, like this:


Make the holes on the same level on each stick, so when you put them all together side by side the holes form three rows


   Then I started painting the sticks with nail polish. You can use acrylic paint of course if you like. It will probably last longer ;-)


    Choose your favorite colors, I prefer different shades of red and pink:


     And some silver to add a bit of glamor...


    Now you will need some thread and a thin needle to start connecting the sticks. Better start from the middle row of holes:


   Make a thick knot and start passing your needle through the holes like on the picture above and below:


    After I finished with the middle row I sewed the rows on the edges in the same fashion and at the end of each row I made a multiple thick knot. So I finally had this:


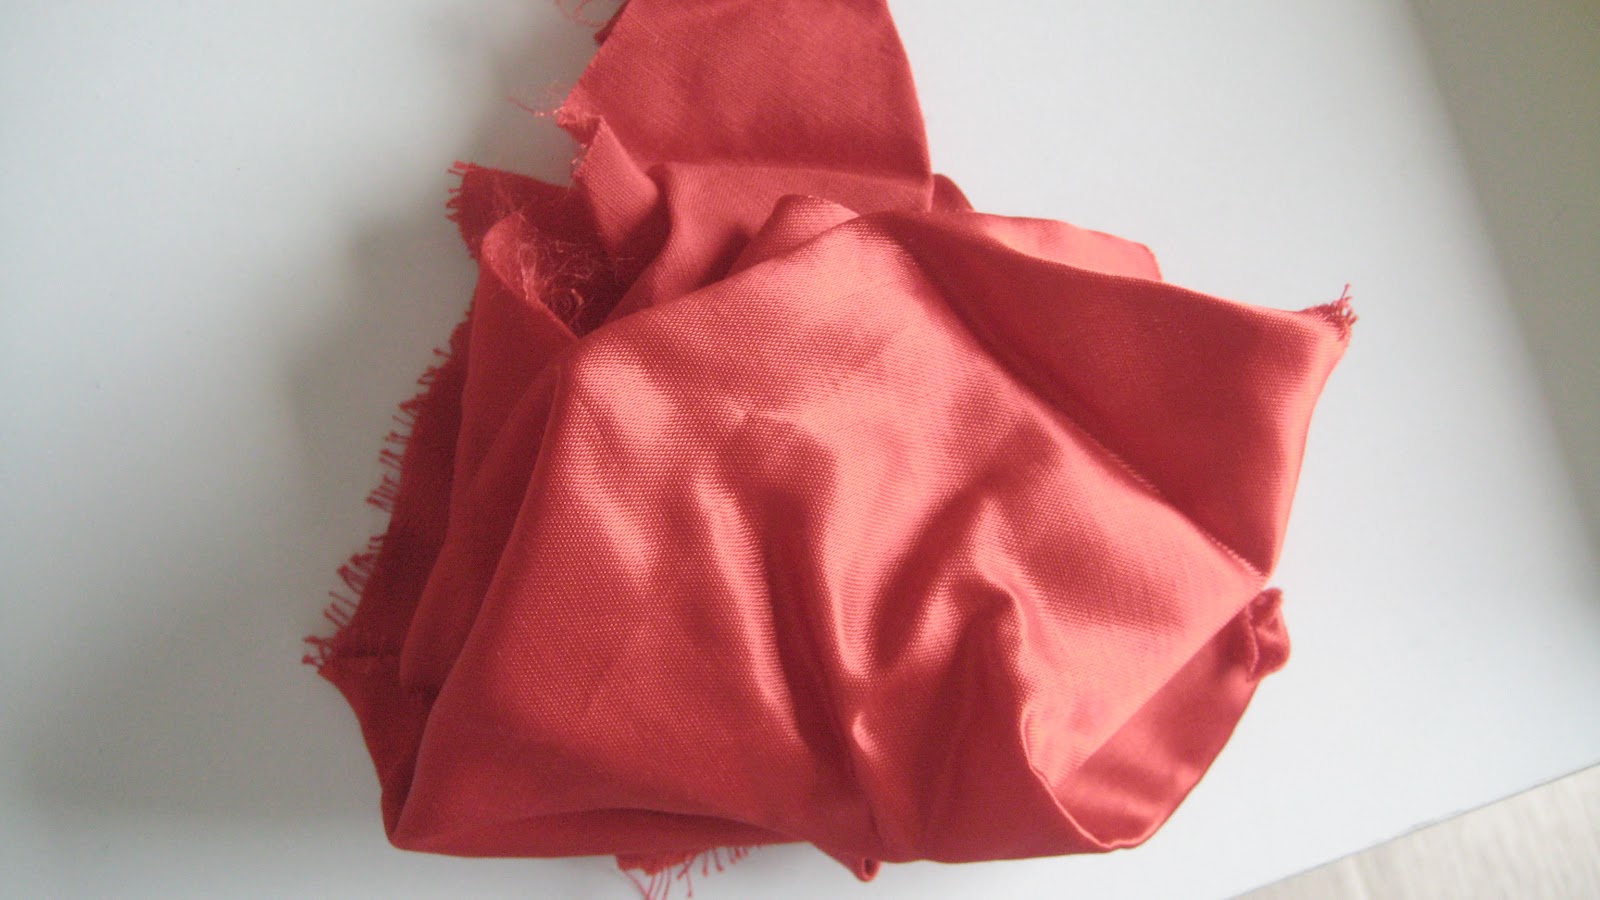
   You need some material to make the clasp of the bracelet now. I used these :


   I attached couple of little rings and the hook on one side:


    And a piece of chain I found somewhere among my junk on the other side ... :


   Ready:


   And here it is on my wrist:


    What do you think?


20.5.12

Cream cheese package into pretty gift box

       Since carrying twins during the 36th week of pregnancy isn't the easiest and most pleasant thing in the world, I am at home most of the time laying on the couch and surfing on the Internet, so basically doing nothing :-) Occasionally I manage to become a little crafty like today that I made this gift box out of garbage as usual:


     You  will need a package of cream cheese like this one:


     Some gift wrapping paper (I always keep the paper of the gifts I receive..) :


    Cut two circular pieces the size of the box and two long stripes so that they fit on top- bottom and around the box :


    Glue them on the box using paper glue:


   For the inner decoration I used some red lining, paper glue and a stapler :


Ok, not so perfect...


   Since it's my mum's birthday and I had made this necklace out of beads I bought a long time ago.. :


   She gets the gift in the gift box :-)))

For the finishing touch use some ribbon, red would be great too!


     Happy Birthday mama!


8.5.12

Polymer clay miniature pizza tutorial

   Since I really appreciate other people's tutorials, I decided to start making my own. This is an idea I had couple of days ago, when I was making polymer clay miniature buttons for baby bibs.

  So, let's start!


  You'll need : polymer clay in colors: tan, translucent white, red, terracotta, green, black, brown, yellow, white, liquid polymer clay and pastels for the coloring.

    Start with a piece of tan clay:


    Roll it using something like a small rolling pin (I used a pen) :


  Then cut off a circular piece, you can use a lid like I did:


   Roll the remain of the clay into a little snake and adjust it around the basic circular piece (in order to do that I used the back of a brush) :


   With a brush and pastels in brown, orange and yellow color the dough so it looks baked:


   For the tomato sauce I used liquid clay mixed with red and brown pastels:


   Mix the materials with a toothpick :
 
    
  and spread on the dough like this:


   For the cheese you will need light yellow ( you can mix yellow and white to obtain this) and translucent clay:


   After you mix them together you roll the clay so you have a very thin layer of cheese:


  Cut off a circular piece a little smaller in diameter than the inner circle of the pizza dough:


   Adjust the edges with the back of your brush or any blunt tool so that the cheese looks melted:


   For the salami you need equal parts of red and terracotta clay:


   Mix them together and roll into a thick and short cylinder :


   Using a needle make little holes from one end to the other:


   Roll a thin snake of translucent clay to make the salami fat and put the pieces through the holes using your needle :


   Then you squeeze the cylinder and roll it into a thinner snake:


   Cut it into little salami pieces:


    Place them on your pizza- you cannot really see the salami fat here so I had to add little pieces of translucent clay later:


   For the olives mix black and brown clay, roll it into a very thin snake:


   Cut it into small pieces:


   With your needle make a hole in the middle of every piece so it looks like a piece of olive when you place it on the pizza:


   You do almost the same for the peppers using light green and translucent clay:


   Place the little pieces by pressing them on the pizza with the back of the needle:


   Sometimes I like to add a little feta cheese on my pizza- so I trim little pieces of white clay and add them like this:


   Bake it in your oven following the instructions on the package of the polymer clay you use:


    Enjoy!!!!